01
Living and shared spaces
Start with rooms where expensive electronics, furniture, decor, and shared household items are easy to underestimate.
- Living room
- Dining room
- Family room
- Entryway
Use a room-by-room home inventory checklist for living areas, bedrooms, kitchen, garage, storage, electronics, valuables, and export-ready records.
Free covers 3 rooms and 30 items. Pro adds unlimited records for $19.90/month.
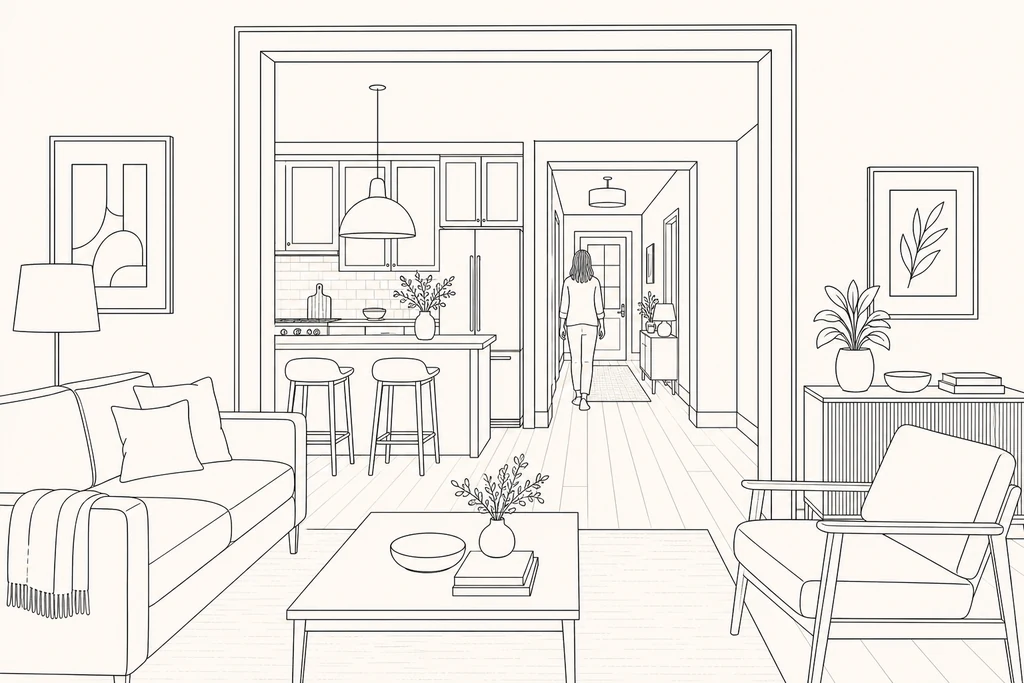
A room-by-room home inventory should include the spaces where belongings live: living areas, bedrooms, kitchen, office, garage, closets, storage areas, outdoor storage, and any specialty rooms. Walking one space at a time helps people capture photos, values, serial numbers, and missing details without getting lost in one giant list.
Start with rooms where expensive electronics, furniture, decor, and shared household items are easy to underestimate.
Bedrooms and closets often contain clothing, electronics, jewelry, instruments, and sentimental items that need values or notes.
Garages, kitchens, attics, basements, and storage areas hold tools, appliances, seasonal gear, and packed-away belongings.
After the walkthrough, review missing photos and values before relying on the inventory for insurance, moving, or estate handoff.
The room-by-room approach reduces decision fatigue because each step has a physical boundary.